On this page
- The roof decides more than the panel brand
- Step 1: Identify the roof type
- Step 2: Structural load
- Step 3: Wind
- Step 4: Shading
- Step 5: Orientation and tilt
- Step 6: Heat and ventilation
- Step 7: Cable routes and inverter location
- Step 8: Access for cleaning and maintenance
- What a real survey report contains
- Mistakes we commonly see
- What to send us
The roof decides more than the panel brand
Most rooftop solar problems we are called to fix have nothing to do with which panel was bought. They are leaks around a badly sealed screw, rails fixed into thin sheet instead of the purlin, a string that loses half its output every afternoon because of a water tank, or an array nobody can reach to clean. All of these were decided before installation, during the roof assessment, or because there was no real assessment at all.
This guide is the checklist we work through on site. Use it to judge whether the survey you received was a proper one.
Step 1: Identify the roof type
| Roof type | Where we usually see it | How the array is fixed | Main risk |
|---|---|---|---|
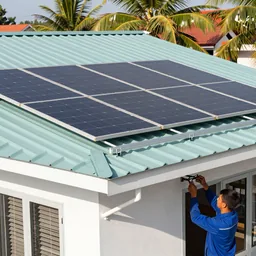
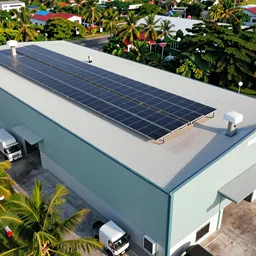
| Metal sheet (trapezoidal, corrugated) | Factories, warehouses, shops, newer houses | Rails on L-feet or brackets screwed into the purlins | Leaks at fixings, thin or rusted sheet |
| Standing seam / klip-lok | Larger commercial roofs | Seam clamps, no holes through the sheet | Wrong clamp for the seam profile |
| Clay or concrete tile | Older houses, some offices | Tile hooks fixed to rafters or battens under the tile | Cracked tiles, leaks under the hook |
| Flat concrete slab | Offices, schools, shophouses | Ballasted or anchored tilt frames | Damaged waterproofing, ponding water |
| Old fibre cement sheet | Older buildings | Usually not suitable | Brittle sheet; older sheets may contain asbestos |
Metal sheet roofs
Check the sheet thickness and condition first. Rust at the laps and around old screws tells you how much life the roof has left. Panels are designed to work for 25 years or more, so if the sheet will need replacing in five years, replace it before the array goes on. Removing and reinstalling an array later costs far more effort than doing the roof first.
Find the purlins. Note whether they are steel C-sections or timber, their size, spacing and condition. Some mounting makers sell brackets rated for fixing into the sheet alone on certain profiles and thicknesses. On thin or older sheet we prefer to fix through to the purlin.
Every fixing goes on the crest (top of the rib), never in the valley where water runs. Use the EPDM washers and butyl seal that come with the bracket. Silicone alone is not a waterproofing system; it cracks after a few hot seasons.
Tile roofs
Tile hooks are fixed to the rafter under the tile, and the tile above the hook is ground so it sits flat again. Walking on tile breaks it, so the installer should use crawl boards and bring spare tiles of the same profile.
Flat concrete slabs
You can hold frames down with ballast (concrete blocks) or anchor them with bolts. Anchors go through the waterproofing membrane and each hole must be resealed. Ballast avoids holes but adds a lot of weight, so the slab must be checked for it. Either way, look at drainage first: frames must not block drain outlets, and water must be able to flow under them. Ponding water around anchors is the most common cause of leaks we see on flat roofs.
Step 2: Structural load
A typical rail-mounted array on a sheet roof adds roughly 12–15 kg/m² (modules plus rails and clamps). A ballasted system on a slab can be several times that, depending on wind. Ask the owner for the original drawings. If there are none, someone qualified has to look at the purlin size and span and at the condition of the trusses. Older light steel roofs were often designed with very little spare capacity.
For larger commercial roofs, we recommend a structural engineer reviews the load before the design is fixed. Remember people too: installers and cleaners walking with tools add point loads that the roof must carry.
Step 3: Wind
The strongest gusts in Laos usually come with the storms before and at the start of the rainy season. Wind uplift is highest at roof edges, corners and ridges. Good practice:
- Keep the array back from edges and ridges, using the mounting maker's layout calculation for the actual building height and exposure.
- Follow the rail maker's span table for the distance between brackets.
- Clamp panels only inside the clamping zones given in the panel maker's installation manual. Clamping outside them can void the panel warranty.
- Tighten clamps and bolts to the stated torque and mark them, so loose ones are visible at the next inspection.
Step 4: Shading
Shade does more damage than most people expect. Panels are wired in series strings, and when part of one panel is shaded its bypass diodes cut out sections of the panel. One small shadow can reduce a whole string noticeably if the inverter's MPPT cannot work around it.
Look for water tanks (very common on Lao roofs), parapets, neighbouring buildings, lightning rods, antennas, air-conditioner condensers and trees. Trees keep growing, so ask what the tree will look like in five years.
Laos sits between about 14° and 22.5° north. In December and January the sun stays lower in the southern sky, so shadows are longest in the dry season, when production should be best. Around May to July the sun passes slightly north of overhead at noon, so obstacles on the north side of the array can matter then. A survey should show the shading for both seasons, at least between 9:00 and 15:00.
If some shading cannot be avoided, put the affected panels on their own string or MPPT input, or use module-level optimizers on those panels only.
Step 5: Orientation and tilt
At Lao latitudes a south-facing tilt of about 10–20° captures nearly the best annual yield. The differences between these angles are small. Two practical rules matter more:
- Do not go below about 10° tilt if you can avoid it. Rain cleans tilted panels; flat panels collect dust and leave dirty bands at the lower edge, which is a real problem in the burning season.
- East-west layouts are fine on metal roofs. They give a few percent less energy per year than due south, but spread production across the day, which suits offices and factories that use power from morning to late afternoon.
On sheet roofs, panels normally follow the existing roof pitch. Steep north-facing slopes are the only faces we usually leave empty.
For planning, use about 4.5–5.5 peak sun hours per day across Laos and Thailand, lower in the rainy season. Treat any yield figure as an estimate, not a promise. See solar system sizing for the calculation.
Step 6: Heat and ventilation
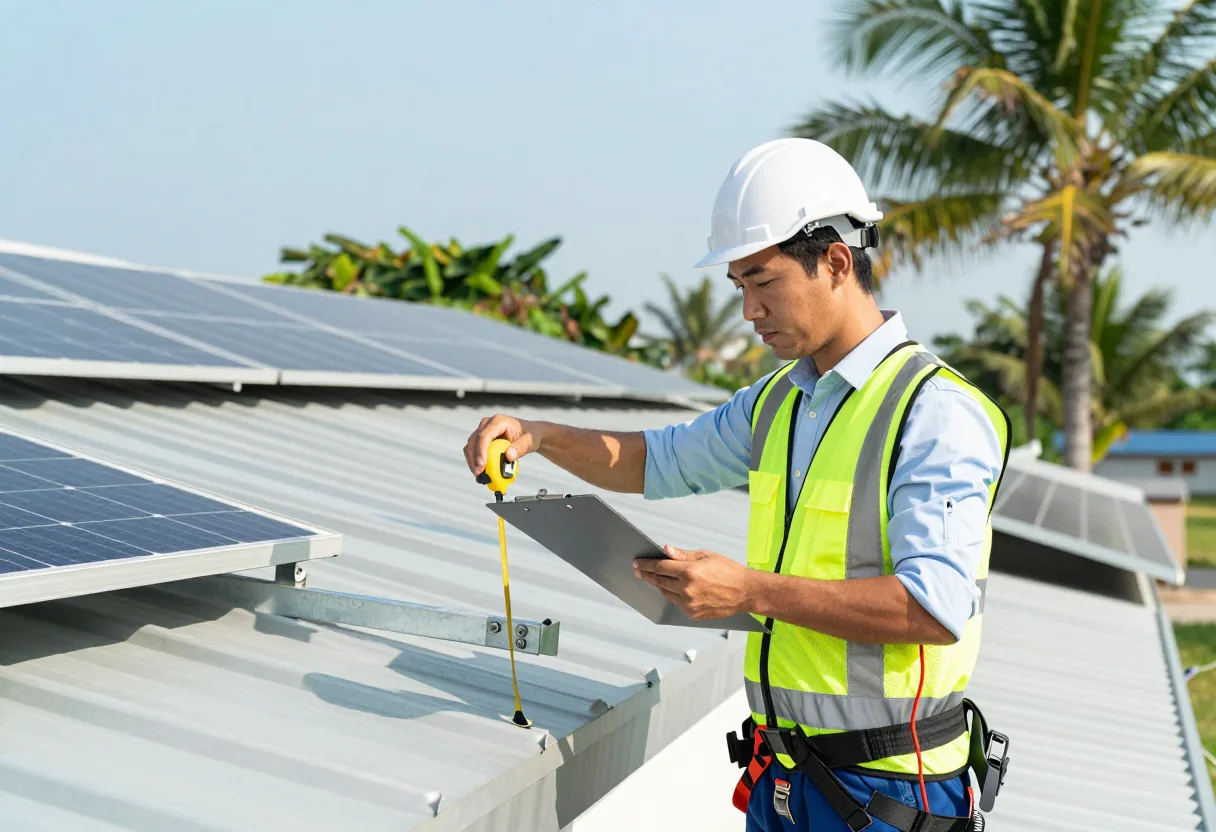
Panels on a hot metal roof run 25–35 °C above air temperature. Output falls by roughly 0.3–0.35% for every degree above 25 °C, depending on the cell technology. Leave an air gap under the panels (rails give about 10 cm or more) and never mount them flat against the sheet.
Step 7: Cable routes and inverter location
- Run DC cable in UV-resistant conduit or cable tray, never lying loose in sheet valleys where water and leaves collect.
- Keep the positive and negative cables of each string close together. A large loop picks up surges from nearby lightning.
- Every cable entry through the roof gets a proper weatherproof gland or boot.
- Keep connectors off the roof surface and out of standing water.
- Put the inverter where it is shaded and ventilated, not on a west wall in afternoon sun or inside a closed hot store room. Inverters reduce output when they overheat.
- Keep DC runs short, and keep the inverter out of reach of children and passing traffic.
- Plan the earthing path for frames and rails from the start.
Step 8: Access for cleaning and maintenance
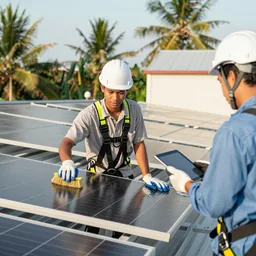
Ask how a person will get onto the roof safely, carrying water and tools. A fixed ladder or roof hatch, a tap on the roof, walkways between rows on large roofs and anchor points for safety harnesses all belong in the design. Leave gaps so nobody has to step on panels. Walking on panels causes micro-cracks that show up later as hot spots. Our O&M and cleaning checklist explains why this matters every year.
What a real survey report contains
- Photos of the roof surface, the underside (purlins or rafters) and every shading object
- Roof type, condition, measured dimensions and purlin spacing
- A shading view for the dry and rainy seasons
- Proposed panel layout with edge margins and access paths
- Mounting system brand and model, and the fixing method
- A note on structural load
- Cable route, inverter location and earthing plan
If your quote has a panel count and nothing else about the roof, the roof was probably not assessed.
Mistakes we commonly see
- Screws in valleys, sealed only with silicone
- Panels clamped outside the maker's clamping zone
- Copper earth lugs bolted straight onto aluminium rails, which corrode
- Connectors lying in water on the sheet
- Inverter in full afternoon sun
- No safe access, so the array is never cleaned
What to send us
Send us four photos on WhatsApp: the building from the ground, the roof surface, the underside showing purlins or rafters, and anything that might cast shade. Add the roof length and width. We will tell you what needs checking before anyone quotes. For the system itself, see on-grid rooftop solar or the solar overview.
- #solar
- #rooftop
- #roof assessment
- #site survey
- #shading
- #mounting